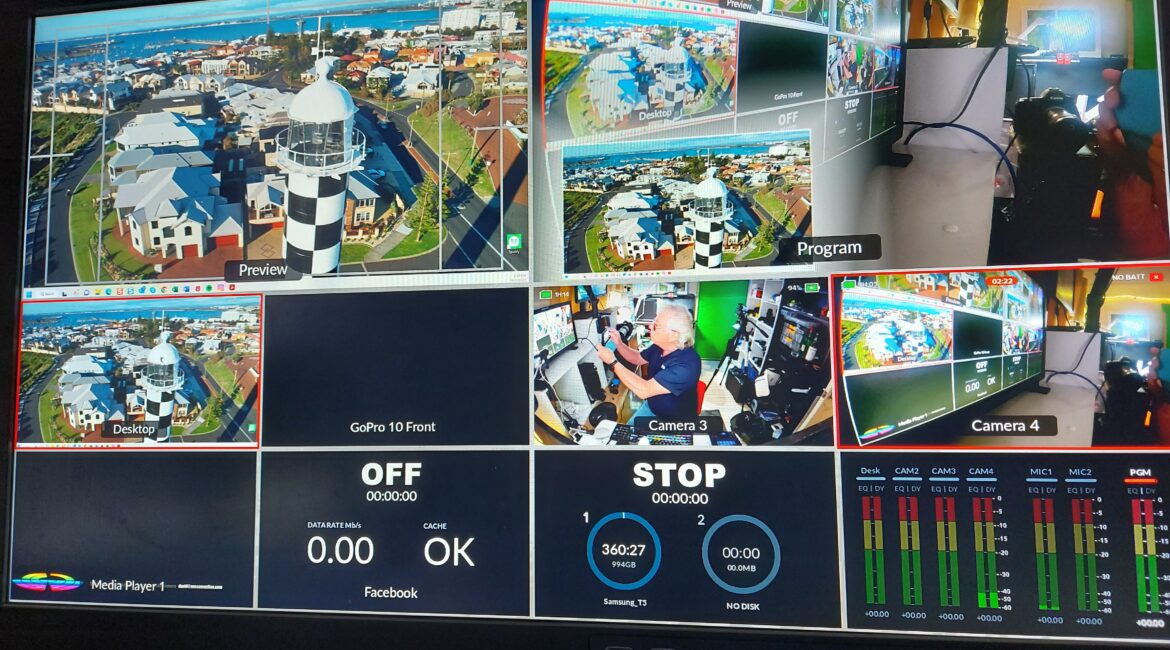
One of the features of the Blackmagic Design ATEM Mini Pro that I love is the is the Picture-in-Picture, or PIP effect. For those not familiar with PIP, this means you can have the output from HDMI 1 on the Blackmagic Design ATEM Mini Pro displayed in a frame over the top of any of the other HDMI inputs in your output stream.
Say for example you have 2 inputs; HDMI 1 is the feed from your desktop monitor showing some software you are reviewing or a technique you are explaining, and HDMI 2 is from a camera facing you explaining the process.
There are two ways of approaching this – one just using the Blackmagic Design ATEM Mini Pro and the other bringing the Blackmagic Design ATEM Control Software into the act.

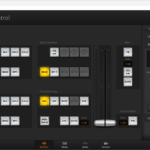
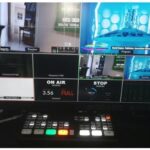
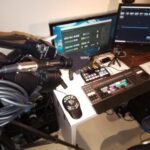
In the first way, just using the Blackmagic Design ATEM Mini Pro, by selecting a PIP type on the console (the section I have drawn a red box around above) and pressing the ON button in the Picture-in-Picture panel, whatever is in the output from HDMI 1 will appear in a small box at the top right and over the top of the other currently selected HDMI unput. Note that in this method, the content to about in the PIP MUST be in HDMI 1. You can change the position of the frame by choosing a different location button from the panel.
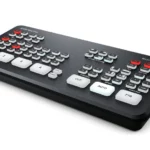
In method number two, you basically follow the steps as in method one, but have a lot more control by using the DVE section of the Blackmagic Design ATEM Control Software.
Effectively, PIP is what is known as a DVE or digital video effect and uses an Upstream Key to do its magic.
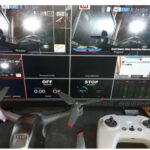
 To achieve this, whilst offline, set up the PIP as you want using the Blackmagic Design ATEM Mini Pro, and then using Blackmagic Design ATEM Control Software, find the Upstream Key panel in the switcher section, choose your source HDMI (here I have it as Desktop which is HDMI 1) and then using the position and size buttons, you can change the size and location of the PIP.
(Note: in the Blackmagic Design ATEM Control Software you can change the label names for each HDMI input.)
As you can see, you can also add masks, shadows, add a border and change its size and colour and more. To learn each of these, I find it best to simply have a play and see what happens with different parameters.
One thing that I’ll cover in a later tutorial is creating macros using the Blackmagic Design ATEM Control Software. With macros, among other things you could automate the PIP process so you don’t have to set the size, position etc each time; just store all the parameters in a macro, and when you need it, call the macro into play and voila! All done autotragically.
Other stories You Might Like...
 Mini Tutorial: Blackmagic ATEM Mini Pro -Getting Started
 Tutorial: Live Broadcast Blackmagic Design ATEM Mini Pro Workflow Example
 Tutorial: Adding a remote guest to a Blackmagic Design ATEM Mini Pro live stream
 Tutorial: Streaming Setup Blackmagic Design ATEM Mini Pro Part 1
 Tutorial: Setting Preview and switching in Blackmagic ATEM Mini Pro
Quick Tutorial: Blackmagic Design ATEM Mini Pro and Facebook Live using XSplit Broadcaster
Tutorial: Setting Preview and switching in Blackmagic ATEM Mini Pro
Quick Tutorial: Blackmagic Design ATEM Mini Pro and Facebook Live using XSplit Broadcaster
 Quick Tutorial: Upstream/ Downstream Keying with BMD ATEM Mini Pro
 Tutorial: Creating Lower 3rds for use in BMD ATEM Mini Pro Live Streaming
 Blackmagic Design: New ATEM Mic Converter, Studio Camera 6K Pro, ATEM TV Studio HD8
 Blackmagic Design ATEM Mini Pro. NOT just for Vloggers…