As we noted a week or so ago, live streaming via the internet using something like Facebook or YouTube is now de rigeur, and we have discovered a brilliant way of getting the best results is using the new Blackmagic Design ATEM Mini Pro video switcher, an all round clever clogs device anyone can use.
To see a more in-depth description, have a look at our Part 1 review here.
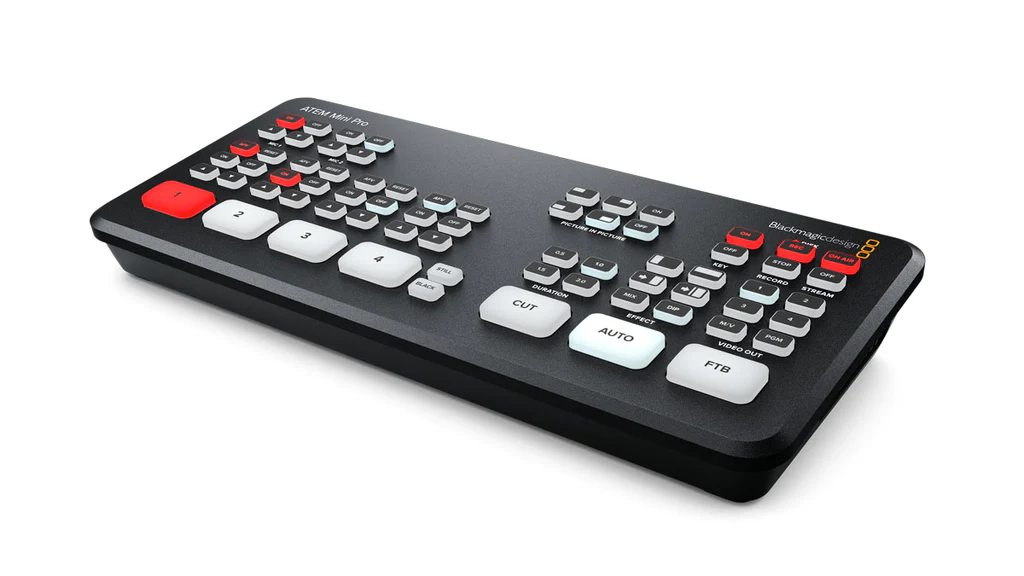
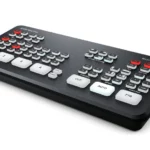
In simple terms, the Blackmagic Design ATEM Mini Pro allows the connection of up to 4 HDMI input and a pair of audio devices and then lets you feed the video / audio streams to a live broadcast on the internet.
There are a bunch of party tricks built in such as keying and picture-in-picture to enhance the stream and allow a pile of extra functionality a simple single camera setup will not allow.
So here is a quick and dirty tutorial on getting the best out of the Blackmagic Design ATEM Mini Pro for, in this case, a Live Facebook broadcast. To give even more flexibility, I am also using XSPLIT Broadcaster to add even more flexibility.
Step 1
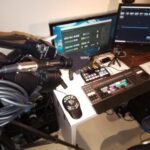
You need to connect your camera(s) via HDMI cables to the HDMI in ports of the Blackmagic Design ATEM Mini Pro. If using an external mic you need to also connect this to the input port and if adding a live music bed, plug a cable from the source to the second mic input port.
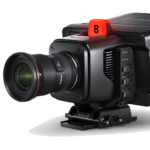
We used a Panasonic HC-PV100 as the primary camera, but also had a couple of GoPros and a Sony DSC-RX0 Mk II connected.
Step 2
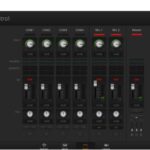
Load XSPLIT Broadcaster.

Step 3
Click the Add Source button then choose Blackmagic from Devices -> Video

Step 4
Select your first camera on the Blackmagic Design ATEM Mini Pro
Step 5
On XSPLIT Broadcaster, select Broadcast – > Facebook

Step 5a

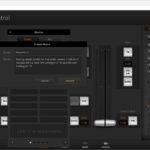
If Facebook has not been setup by XSPLIT Broadcaster as an output, choose
Broadcast -> Setup a New Output and select Facebook Live. XSPLIT Broadcaster will attempt to connect to Facebook and ask for your login to authorize this.
Select an account from the options (or add a new account) and XSPLIT Broadcaster will create a connection and show you the default settings. You have the option to save these (and they will be calculated based on your internet connectivity).
Click Continue
A text box opens letting you fill in the details of the broadcast including privacy levels if you wish. Click Start Broadcast.

Step 6
Start Facebook and choose Live Video

Step 7
Select Start Broadcast

Step 8
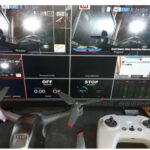
Accept the Facebook defaults but make sure Use camera is selected. Scroll down to Setup and confirm XSPLIT Broadcaster is selected as the camera if the wrong image or no image is showing.
Click the Go Live button on the left. You should now be broadcasting live. On the Blackmagic Design ATEM Mini Pro you can switch between cameras as you wish.

Note that in XSPLIT Broadcaster Scene 1 is selected. You can create as many scenes as you like. See more on scenes here.
In the next tutorial, we’ll cover adding in a second and third camera, overlays from your computer and a music bed.
Other stories You Might Like...
 Tutorial: Live Broadcast Blackmagic Design ATEM Mini Pro Workflow Example
 Tutorial: Adding a remote guest to a Blackmagic Design ATEM Mini Pro live stream
 Tutorial: Streaming Setup Blackmagic Design ATEM Mini Pro Part 1
 Quick Tutorial: Upstream/ Downstream Keying with BMD ATEM Mini Pro
 Mini Tutorial: Blackmagic ATEM Mini Pro -Getting Started
 Tutorial: Creating Lower 3rds for use in BMD ATEM Mini Pro Live Streaming
 Blackmagic Design: New ATEM Mic Converter, Studio Camera 6K Pro, ATEM TV Studio HD8
 Blackmagic Design ATEM Mini Pro. NOT just for Vloggers…
 Blackmagic Design ATEM Mini Pro as an audio mixer? Sure can!
 Blackmagic Design ATEM Mini Pro and Macros. Here’s How.