One of the things I had a lot of difficulty with when first starting with video was graphics, specifically graphics with alpha channels.
Coming from a web development background, my brain just couldn’t grasp the difference between transparent GIFs and an image with an alpha channel.
It was finally explained best by After Effects gurus Chris and Trish Meyer who likened an alpha channel in an image to a stencil cut out over the top of an image.
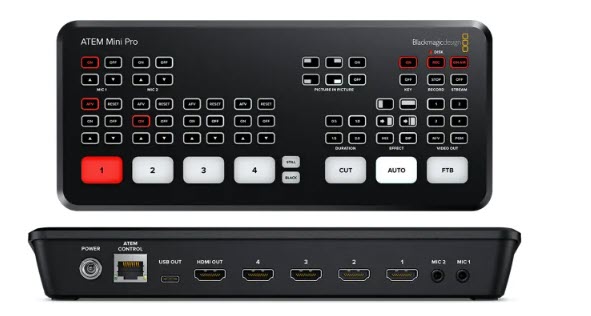
Which leads me nicely to upstream and downstream keyers when using the Blackmagic Design ATEM Mini Pro. This too can become very confusing and indeed, another issue I had way back when was with , a sort of AE “me too” app that allowed “downstream processing” of motion graphics imagery.

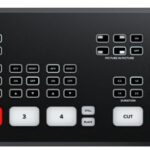
 A very simple explanation of when to use which type of keyer with the Blackmagic Design ATEM Mini Pro is that firstly, a downstream keyer is used as a constant no matter what is playing. This makes it perfect for say, a lower third of a presenter’s name, or the title of a tutorial that you want to appear no matter what imagery is playing via any of the HDMI inputs on the Blackmagic Design ATEM Mini Pro.
 Conversely, an upstream keyer is used to place an image that is “brought into play” with a transition from one input to another. An example here could be again, a lower third, but this time describing a scene, but one that will change each time the input is changed.
Another could be for a shoot of a number of talking heads where an upstream key detailing their name and title is shown when the camera switches to that person speaking.
This latter one is an ideal example of using the macro system of the Blackmagic Design ATEM Mini Pro to automatically load the correct graphic at the time by the way.
Quick Tip:
If you use Adobe Photoshop and the Blackmagic Design ATEM Software Control package, the heavy lifting of creating pre-multiplied graphics is done for you by a plug-in that ships and installs with the ATEM Software Control program.
To use it, simply create your image as normal in Adobe Photoshop with transparency as required, and then choose Export. An option there is to Export directly to the ATEM software Control program as well as select the media player slot to use and whether to poke the image straight into the media player as the current image to display.


Other stories You Might Like...
 Tutorial: Creating Lower 3rds for use in BMD ATEM Mini Pro Live Streaming
 Quick Tutorial: Blackmagic Design ATEM Mini Pro and Facebook Live using XSplit Broadcaster
Mini Tutorial: Blackmagic ATEM Mini Pro -Getting Started
Quick Tutorial: Blackmagic Design ATEM Mini Pro and Facebook Live using XSplit Broadcaster
Mini Tutorial: Blackmagic ATEM Mini Pro -Getting Started
 Tutorial: Live Broadcast Blackmagic Design ATEM Mini Pro Workflow Example
 Tutorial: 2 ways to add a PIP (Picture-in-Picture) effect with the Blackmagic ATEM Mini Pro
 Tutorial: Adding a remote guest to a Blackmagic Design ATEM Mini Pro live stream
 Tutorial: Streaming Setup Blackmagic Design ATEM Mini Pro Part 1
 Tutorial: Setting Preview and switching in Blackmagic ATEM Mini Pro
 Blackmagic Design: New ATEM Mic Converter, Studio Camera 6K Pro, ATEM TV Studio HD8
 Blackmagic Design ATEM Mini Pro as an audio mixer? Sure can!