I first saw information on Loupedeck in 2019 via an advert in a magazine on the shelf in my local newsagent. The particular model in the ad was the original full size Loupedeck+, a console controller apparently much loved by Adobe Lightroom users.
I don’t use Lightroom, and never have, but I was intrigued so asked the company for a review unit.
For years I had been using a Contour ShuttlePro, primarily for video editing as I love the concept of the jog wheel – a throwback to my analogue editing days. I wondered how the Loupedeck+ would fare in the same environment. You can see my initial review here and a revisit here.
Six months later, the company announced the Loupedeck CT, a – to me at least – much more versatile unit than the Loupedeck + due to an open architecture allowing easier 3rd party development of ‘profiles’ for different applications. The Loupedeck CT will switch from profile to profile as you changed between apps in Windows or MacOS.
Using the Loupedeck CT
So how do I use the Loupedeck CT?
It’s necessary to understand the topography of the unit to fully get the picture of what it is, what it can do and then most importantly, how you can effectively use it to speed up whatever workflow you press it into service for, whether it be (as I do) for DaVinci Resolve, Vegas Pro, Premiere Pro, After Effects, Cinema 4D or more than 60 other products, or using profiles you create yourself.
I don’t intend this piece to be a tutorial as such, so here is an excellent video I used to get the hang of creating my own profiles.
https://www.youtube.com/watch?v=D8-Rq5IulBE
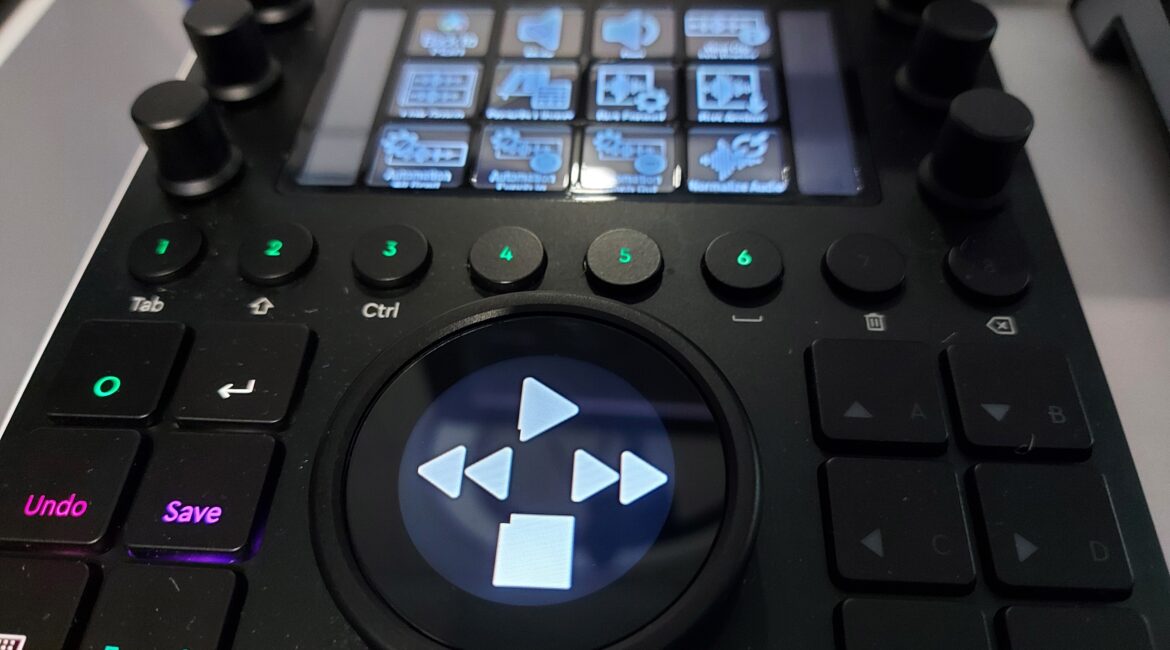
The Loupedeck CT is made up of a series of rotary dials, a panel of square touch buttons (showing icons), a panel of square buttons with pre-set labels (A through E and a Function button) , horizontally laid out circular labelled buttons (numbered 1 through 8 via an engraving on the button, and keyboard commands below it such as TAB, CTRL, SHIFT, ALT etc, a second panel of square buttons with labels such as Undo, RETURN and Keyboard layout and finally, a largish jog / shuttle wheel with an LED programmable centre.

Now it’s important to understand that each of these keys / buttons / dials can be programmed with whatever you like. Additionally, there are separate ‘pages’ of commands per button in some case that can be created.
I’ll be using DaVinci Resolve as the example here.
When you first start DaVinci Resolve (assuming of course you have the DaVinci Resolve profile loaded – more on that soon), the touch panels show the 7 options of Resolve that display along the bottom of the program; that is, Media, Cut, Edit, Fusion, Colour, Fairlight and Deliver. Pressing these will take you to the corresponding mode in Resolve just as if you had clicked the option in the program proper.
![]()

And now the fun starts and you get to see the functionality and associated advantages of the Loupedeck CT in a working environment. Let’s assume you pressed Edit to take you into full on editing mode, as against using the Cut page. The touch buttons immediately change to reflect a set of commands relevant to this mode. Further, by pressing one of the horizontal number buttons (1-8), you can ‘page’ through all the commands available in the profile that are there for the Edit mode.

The rotary buttons can also be pressed like an on / off switch and then do something totally different.
The DaVinci profile one is so extensive, I think the developers must have mapped every single available command to the Loupedeck CT, including editing, colour correction, all the audio sweetening options and more.

This means that once I understand the logic of the ‘pages’ under each main mode of Resolve, it is much easier to use the labelled icons on the Loupedeck CT to perform an action than use the mouse and the menu systems, or indeed, in many cases, even keyboard shortcuts.
Further of course, if I am switching between programs as often happens, say to get a screen grab for a tutorial or something similar, as long as there is a suitable profile available, the Loupedeck CT will automatically switch to reflect the menu / command structure of that new program.
This speeds up workflow immensely.
Profiles
Now, of course as I say, all this depends very much on the fact there is a profile for your program. In my case, as I use DaVinci Resolve, Cinema 4D and Adobe Photoshop regularly, I have all these loaded. But I also use Microsoft Outlook and Excel, Google Chrome, After Effects, Illustrator and Vegas Pro and there are also profiles for these and even for Windows itself.


Recently, the Loupedeck company setup a Marketplace area on their website so 3rd party developers have somewhere to display the profiles they have developed. The Marketplace is easily accessible directly from the Loupedeck app that is also used to create profiles manually and setup the Loupedeck CT to your tastes.
It’s early days but already there are profiles for YouTube Music, Spotify, Logic Pro, Blender and many more. You can access it directly in your browser via https://loupedeck.com/loupedeck-marketplace/
The system I use is from a company called SideshowFX. They specialise in making profile packs for controllers including the Loupedeck CT and I have to say, these are a work of art to say the least! Currently Sideshowfx has profile packs for Adobe products, DaVinci Resolve (this is the one I use), Final Cut Pro, Ableton and more.
You can check them out at https://www.sideshowfx.net/loupedeck-products.
Conclusion
It might not be for everyone, but I have found that since getting the Loupedeck CT, my production has increased quite dramatically. You do have to ‘train’ yourself initially to actually use it, and in the early days, you can spend a little time hunting for commands and functions for an application.
But once you become familiar with the ways to access the common ones, your mental library grows in leaps and bounds.
The Loupedeck CT does cost around $850 in Australia through retailers such as JB HiFi, Leederville Cameras and Camera Warehouse and some may say that is expensive. I’d agree here.
If you make a living via editing video, creating 3D models in Cinema or Blender, or even crunch numbers in Excel though, then the money is well spent in the return of increased productivity over quite a short period of time.
Compared to European pricing at €499 it is about $100 too high in my opinion. That of course is out of the Loupedeck company’s hands though, but it does mean you might get a better deal buying direct from Loupedeck dependent on exchange rates.
And I can say, for me at least, the company’s support when needed has been exemplary.
If you regularly travel and use a laptop away from your desk, then there is also a carry case available for your Loupedeck CT allowing you to take it with you and continue using it with your laptop. Just make sure the Loupedeck app and relevant profiles are installed.
If you have any questions I can answer on using a Loupedeck CT (but not technical please in terms of setting it up etc), feel free to contact me.